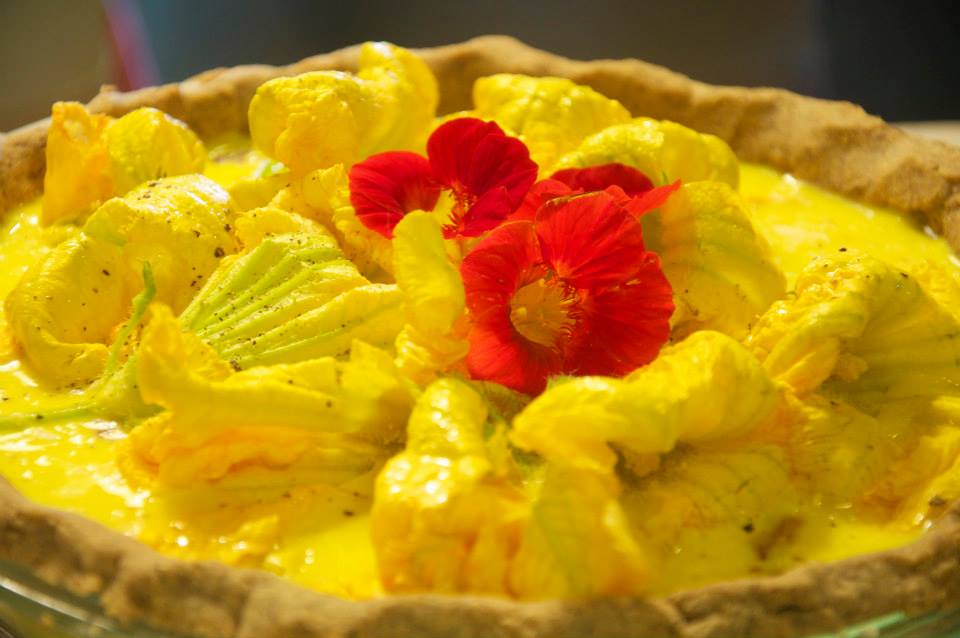
Squash Blossom Quiche
One of the main reasons we wanted to pack squash blossoms for you again is because we've been enjoying them so much in quiches with our bed and breakfast guests. This is a truly delicious, and gorgeous dish. Here, its waiting to go into the over. When it comes out, the blossoms will be slightly browned and the result will be delicious. Use your own piecrust recipe, or scroll down to the Fruit of the Forest Pie and use our savory buckwheat crust.
For the crust:
1 1/4 cups all purpose flour
generous pinch sea salt or kosher salt
1 stick (115gr) cold, unsalted butter, cut into 1/2" cubes
1/4 cup ice cold water, or enough to just hold together the pastry
1 egg wash - yolk, pinch salt, splash water, blended together
For the filling:
3 large eggs
1/2 cup milk
salt and pepper to taste
1/2 cup loosely packed fresh basil
1/4 teaspoon freshly grated nutmeg
4 oz feta cheese, crumbled
4 to 8 squash blossoms
In the bowl of a food processor fitted with a plastic blade, pulse together the flour and salt. Add the cold butter all at once. Pulse until the flour is the size of tiny peas. Drizzle the ice water through the mouth of the food processor, while pulsing. Stop just when the pastry begins to come together. Empty the bowl onto a lightly floured surface and form into a disk using your hands. Wrap with plastic wrap and refrigerate for at least 30 minutes. This can be done up to 2-3 days in advance. You can of course, do the whole thing by hand. Preheat the oven to 350F. Roll crust out on a lightly floured surface, to about 1/4" thickness. Bake crust for 10 minutes, protecting the edge with foil. Remove and allow to cool to room temperature.
In a food processor, pulse together the eggs, milk, salt, pepper and basil leaves until the basil gives the filling a light green color. By hand, nutmeg and feta. Do not pulse but stir them in with a spoon. Pour at the bottom of the refrigerated pie crust and top with the squash blossoms in a circle all around the filling. Bake for 45 minutes to an hour until the quiche is golden brown. Let cool slightly before eating.
QUICK SPANISH TORTILLA
4-5 medium potatoes, sliced in rounds
1 small onion, roughly chopped
1⁄2 cup extra virgin olive oil
1 tsp salt
6 eggs, whisked
1 TBSP snipped chives
Pepper and/or paprika
Preheat oven to 375F. In an ovenproof skillet or cast iron pan, gently bring to heat a 1⁄2 cup of olive oil on the stovetop. Once the oil has been brought to heat, add the sliced potatoes and onion. Stir until mixed. Cover and sweat the vegetables for 10 minutes. You'll want the potatoes and onions to be softened and not too browned. Once softened, turn off the heat. In a large bowl, whisk together the 6 large eggs. Pour the eggs over the potato and onion mixture, and mix through. Sprinkle with chives. Place the skillet or cast iron pan into the oven and bake for 15 minutes or until cooked through. Season with freshly ground pepper and paprika. Serve in pizza-shaped slices.
Swiss Chard Gratin
1 large bunch chard, washed
1 cups fresh breadcrumbs
2 tablespoons butter
1 large onion, diced
2 cloves garlic, sliced
Salt, pepper to taste
2 teaspoons flour
1/2 cup half and half
Freshly grated nutmeg
Freshly grated hard cheese, such as parmesan, asiago or Evalon
Melt butter in a 10-inch cast iron skillet. Add onion and saute til translucent. Add sliced garlic. Cook on medium low. Thinly slice the chard stems, add to the skillet, and cook for 2 minutes or so while ribboning the leaves. Add the leaves and continue cooking until tender, about 3-4 minutes longer. In the meantime, preheat the oven to 350 degrees. Salt and pepper roughly to taste. Toast breadcrumbs lightly in oven on a baking tray, for about 5 minutes. Stir flour into half-and-half, grate in nutmeg to taste. Pour milk mixture over chard. Sprinkle breadcrumbs then cheese on top. Place mixture in oven and cook until cheese is melted and slightly browned. Allow to cool slightly before serving.
